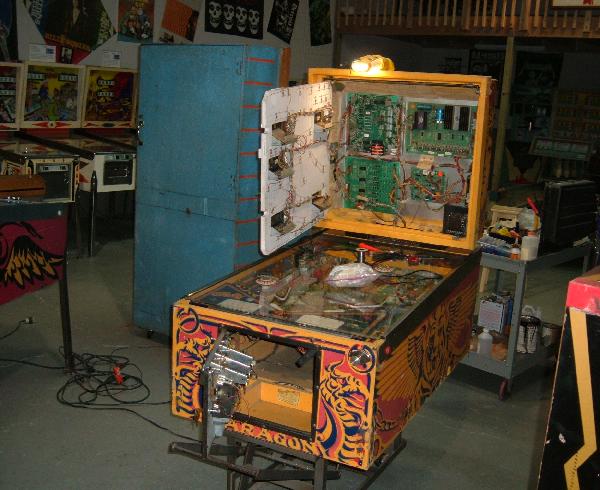
A friend brought this game in for repair. As a friend we are always more than happy to help fix a game. He just bought this 1980 Bally Paragon pinball, and for a very nice price. The seller’s complaint was they couldn’t start a game – that is the start button on the coin door did nothing.
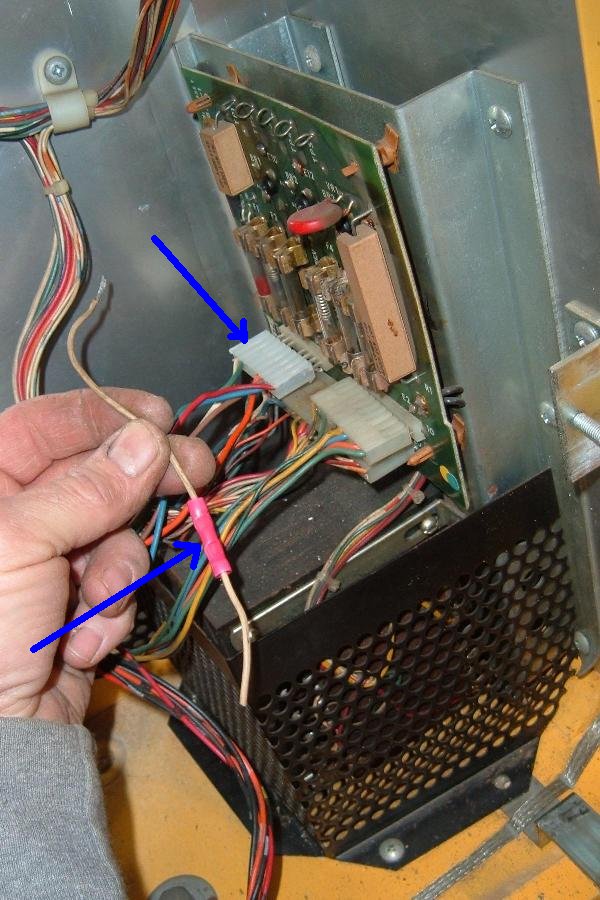
Of course our first comment was, “does the game have any credits?” Ha! Well either way we knew it would be more complicated than that. So we set up the machine and found the first problem – one of the connectors on the transformer rectifier board had its wires soldered directly to the male header pins. So to get the game apart, they just cut the wires! Dang it’s never gonna work now. So we de-soldered the wires from the connector pins, installed a new female .156″ Molex connector housing and Trifurcon pins, and cleaned up the male pins. At least now the game could be plugged together!
Amazingly, with everything plugged in, the game actually booted! Sure it wasn’t perfect. For example, all the male header pins needed to be re-soldered on the score displays (digits were flickering), but overall, the game ran. First thing to try was to enter diagnostics. Pressed the red diag button inside the coin door… nothing! No workie. That red button just goes to the MPU connector J3 pin 1, and all the button does is ground that pin. So you could just take a jumper wire to MPU connector J3 pin 1 and ground it to put the game in diagnostics. But would rather just fix the problem.
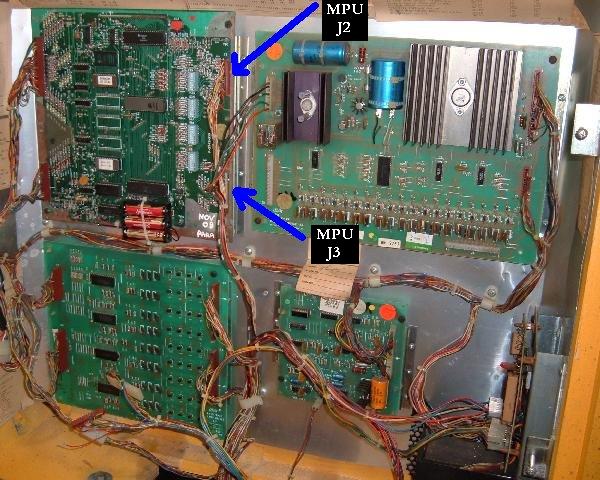
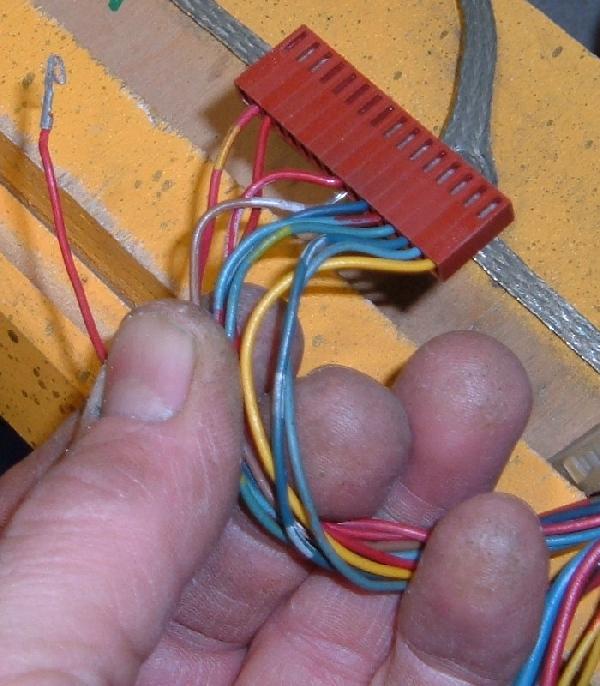
The problem was the connector pins themselves. This game had some bad battery corrosion in the past. The prior owner had the MPU board fixed, but failed to address the harness connector pins. On MPU connector J3 the pins were either broken or corroded. The only solution to this is to re-pin the connector. Each pin was remove and a new .100″ pin crimped and re-inserted into the original housing. After doing this, pressing the red coin door diagnostic button put the game into diag mode.
With the game in diagnostic mode, went to the switch test. Checked the coin door credit button (which also goes to MPU connector J3), and it now worked in switch test. Yet someone had removed all the coin door switch hardware. How can you add credits? Well you can’t. So moved one of the coin door (brown/white) wires to the slam switch (and disconnected the yellow/white slam switch wire.) Now the new owner can open the coin door and just flick the slam switch to add credits. That makes things easy.

Also checked all the playfield switches. Found that any switch using the white/green or white/brown wires didn’t work. Went to MPU board connector J2 this time (the playfield switch connector) and found these two wires’ connector pins were bad. Replaced those with new .100″ pins, and now all the playfield switches worked. Re-booted the machine, added a credit, and started a game. Geez everything now worked! Played a couple games and the new Tilt Town club member was thrilled his $100 Paragon was working.